 Largo Window
 Why Install Day Looks Different in Pinellas County
Window replacement in Largo isn't quite the same job as window replacement in a milder climate. Every window that goes into a home here has to stand up to hurricane-force winds, intense year-round UV exposure, wind-driven rain, and salt air drifting in off the Gulf. That doesn't change what happens on install day so much as it changes how carefully each step has to be done — the flashing, the sealant, the fasteners, and the final adjustments all matter more when the window has to perform in this kind of weather, not just look good on a calm afternoon.
This guide walks through a typical install day from start to finish, so you know what to expect, what your crew should be doing at each stage, and what questions are fair to ask if something looks off.
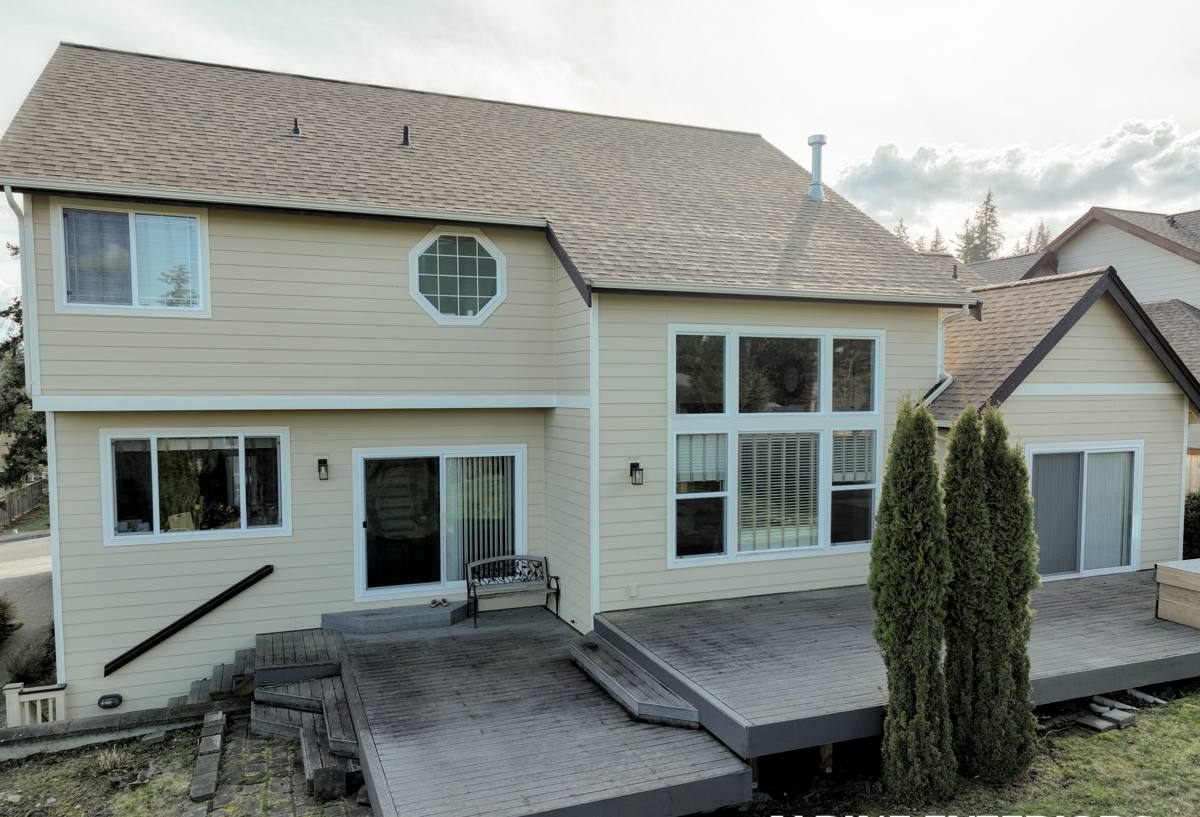
Before the Crew Arrives
What You Should Have Done Already
By the time install day arrives, the ordering and measuring should be long finished. A reputable contractor takes precise field measurements weeks before the windows are manufactured, because factory-built replacement windows are made to fit a specific rough opening — there's no adjusting the size on-site. If anyone shows up to measure for the first time on install day, that's a scheduling mix-up, not normal practice.
Clearing the Work Area
The day before, it helps to clear a 3-to-4-foot path around every window being replaced, both inside and out. Move furniture, take down blinds or curtains, and pull anything breakable off nearby shelves — vibration from removal and tapping in new frames can jar loose items on walls. If you have pets, plan on keeping them in a closed-off room or offsite for the day; exterior doors and window openings will be open on and off, and the noise alone unsettles most animals.
Morning Arrival and Walkthrough
A good crew starts with a walkthrough, not a demo hammer. Expect the lead installer to confirm the window count, styles, and locations against the work order, check that the correct units were delivered undamaged, and flag anything that doesn't match — wrong size, wrong grid pattern, shipping damage — before a single old window comes out. This is also the point to mention anything you're worried about: a soft spot you've noticed near a sill, a window that's been painted shut, an interior trim detail you want preserved.
Drop cloths go down inside, and exterior ground protection goes down outside where debris or dropped tools might land in landscaping. On a windy day — not unusual this close to the coast — the crew may sequence the more exposed elevations differently or wait out a gust before pulling a window.
Removing the Old Window
Removal is where a rushed crew causes the most damage, so it's worth understanding what a careful removal looks like. The interior and exterior trim comes off first, usually with a pry bar and putty knife worked gently to avoid cracking drywall or stucco. The old sash and frame are then cut free or unscrewed from the rough opening and lifted out as a unit where possible.
This is the moment that tells the installer — and you — the real condition of the opening. In older Largo homes, especially those close to the water, it's not unusual to find:
- Wood framing softened by long-term moisture intrusion, even if the interior drywall looked fine
- Corroded fasteners or flashing from years of salt-air exposure
- Gaps or missing insulation around the original frame
- Signs of prior water staining below the sill that never got addressed
Any of this should be pointed out to you on the spot, with a plan for repair before the new window goes in — never covered up and sealed over.
Prepping the Opening
Once the old unit is out, the rough opening gets cleaned, dried, and inspected for square and level. Any rot or damaged framing gets cut out and replaced with sound lumber. This is also when self-adhering flashing membrane goes down at the sill and up the jambs, lapped so that any water that does get behind the exterior finish sheds back outward instead of migrating into the wall cavity. Skipping or shortcutting this step is one of the most common causes of water damage in coastal homes years down the road — it doesn't show up as a leak on day one, it shows up as rot behind the wall two or three years later.
Setting and Fastening the New Window
Level, Plumb, and Square
The new window is dry-fit first, then shimmed until it's level side to side, plumb top to bottom, and square in the opening — all three, not just one. A window that's slightly out of square will bind or won't lock tightly, which matters a lot when that lock is part of what keeps the sash from flexing or blowing open under wind load.
Fastening for Wind Resistance
Fasteners go through the frame into structural framing at the manufacturer's specified spacing, not just wherever is convenient. In this region, that spacing isn't cosmetic — it's tied to the wind-load rating the window was engineered and, in many cases, permitted for. Undersized or under-spaced fasteners are one of the more common corners cut by crews unfamiliar with high-wind installation standards.
Flashing, Sealing, and Weatherproofing
This is the step that separates a window that performs for twenty years from one that fails early, and it's almost entirely invisible once the job is done. After the window is fastened, flashing tape seals the top and side flanges to the wall's weather-resistive barrier, shingle-style so water always sheds downward and outward. Backer rod and a quality exterior sealant fill the perimeter gap, and the sealant bead has to be tooled properly — a smeared or skipped bead looks fine for a photo but fails within a season or two of Florida sun and salt air.
Interior insulation — typically low-expansion foam or fiberglass, never a solid pack of rigid foam that can bow the frame — fills the gap between the new frame and the rough opening before interior trim goes back on.
Trim, Cleanup, and Interior Finish Work
Interior and exterior trim gets reinstalled or replaced, caulked, and in most cases painted or touched up to match. A conscientious crew vacuums window tracks, wipes down glass and frames, and hauls away the old windows and packaging the same day rather than leaving debris for a second trip. Ask ahead of time whether haul-away is included — it usually is, but it's worth confirming before install day, not after.
Final Inspection and Walkthrough
Before the crew leaves, every new window should be opened, closed, and locked in front of you to confirm smooth operation. This is the time to check for gaps in the caulk line, confirm screens are seated correctly, and ask any questions about care or warranty coverage. If your project required a building permit — common for full-frame replacements or any work affecting the structural opening — a final inspection by the county or city will typically happen on a separate visit after the installer's own quality check.
How Long Does Install Day Actually Take?
Timelines vary more than people expect. The table below covers the factors that most affect how long a job takes, so you can set realistic expectations before scheduling.
| Factor | Effect on Timeline |
|---|---|
| Number of windows | Most crews average 30–60 minutes per window once underway; a whole-house project often spans multiple days |
| Insert vs. full-frame replacement | Insert (pocket) replacements are faster; full-frame replacement involves more demolition and flashing work |
| Story height and access | Second-story or hard-to-reach windows require ladders or lifts, slowing the pace |
| Framing condition | Rot or moisture damage found during removal adds repair time before the new window can be set |
| Weather | Wind-driven rain or high gusts can pause exterior sealing work until conditions clear |
| Permit requirements | Structural changes may need a separate county or city inspection after installation |
How to Prepare for a Smooth Install Day
A little prep on your end keeps the day moving and protects your home. Before the crew arrives:
- Clear furniture, blinds, and breakables from a few feet around each window, inside and out
- Arrange for pets to be in a closed room or elsewhere for the day
- Move vehicles to give the crew's truck and materials easy driveway access
- Note any pre-existing damage, soft spots, or trim details you want preserved, and mention them at the morning walkthrough
- Confirm ahead of time whether old-window haul-away and interior touch-up painting are included
- Plan for some noise and dust, especially during removal and trim work
If you're weighing a window replacement and want a straight answer on what your home needs — no pressure, no invented urgency — we're glad to come out, take a look, and put together a written estimate you can think over on your own timeline.