 Largo Window
 Treasure Island Roofs Face a Different Kind of Wear
Treasure Island sits out on the barrier island chain in Pinellas County, with open Gulf exposure on one side and the Intracoastal on the other. That location is what makes the area beautiful, and it's also exactly why roofs there age faster and fail differently than roofs a few miles inland in Largo. Wind has a longer, uninterrupted runway before it hits a roof deck. Salt-laden air corrodes fasteners, flashing, and metal drip edge years ahead of schedule. Intense year-round UV bakes asphalt shingles and dries out sealants. And wind-driven rain during tropical systems and even routine summer storms gets pushed sideways under laps and flashings that would stay dry on a calmer, inland roof.
None of that means a Treasure Island roof is doomed — it means storm damage repair has to account for conditions a generic repair crew from outside the barrier islands may not think about. We work this area regularly, so the way we inspect, repair, and document damage is built around what actually happens to roofs out here, not a one-size-fits-all approach.
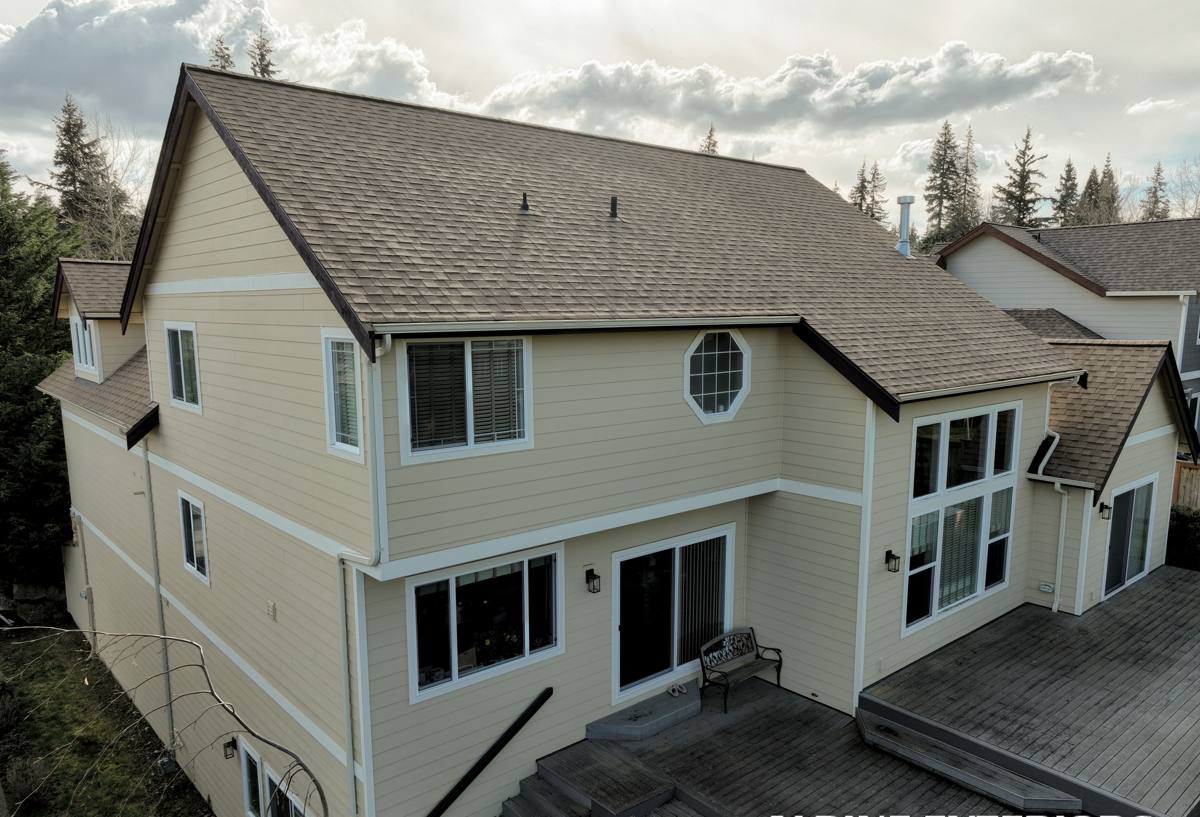
What Actually Counts as Storm Damage
Homeowners often assume "storm damage" means a roof torn open in a hurricane. In practice, most of the calls we get after weather events are less dramatic but still serious if left alone.
Wind Damage
Sustained coastal wind and gusts during squalls lift shingle tabs, crack tile, and work fasteners loose without ever fully removing a section of roof. The roof can look intact from the ground while dozens of shingles or tiles are no longer properly sealed.
Wind-Driven Water Intrusion
This is the damage that costs homeowners the most because it's invisible until it isn't. Rain pushed horizontally by wind finds its way under ridge caps, around pipe boots, and along valley flashing that would never leak in a straight-down rain. By the time a stain shows up on a ceiling, water has often been getting into the deck for weeks or months.
Impact and Debris Damage
Palm fronds, loose gravel from nearby roofs, and airborne debris during stronger storms can crack tile, bruise shingles, and dent metal roofing or flashing. Bruised shingles in particular don't always show visible cracking right away but lose their granule protection and fail early.
Cumulative Salt and UV Fatigue
This isn't a single "storm event," but it's why storm damage on Treasure Island tends to be worse than the same storm would cause inland. Fasteners, flashing, and sealant that are already brittle from salt exposure and UV give way under wind and water pressure that a newer, less-weathered roof would shrug off.
What a Correct Repair Actually Involves
A storm damage repair that's done right isn't just patching the spot that's visibly leaking. It's tracing the damage back to its actual cause and fixing that, not just the symptom.
Full Inspection, Not a Spot Check
We walk the whole roof, not just the area the homeowner points to. Wind and water damage rarely stay in one place — a loose ridge cap at one end of the roof can be feeding water that shows up as a stain on the opposite side of the house.
Matching Materials and Fastening Patterns
Repairs need to match the existing roofing material's profile, color, and — just as important — the fastening pattern required for the wind exposure of a barrier island property. A patch that isn't fastened to the same standard as the rest of the roof becomes the next weak point.
Flashing and Underlayment First
Most leaks trace back to flashing detail — around chimneys, skylights, pipe boots, valleys, and roof-to-wall transitions — rather than the field of the roofing material itself. Replacing shingles or tile without correcting the flashing and underlayment underneath just guarantees the same leak returns with the next storm.
Sealing for Salt Air, Not Just Water
On coastal properties we use fasteners and flashing rated for corrosion resistance in salt-air environments. Standard hardware that would be fine inland corrodes faster here and becomes a repeat repair.
Our Repair Process, Start to Finish
- Initial contact and scheduling — we ask what you noticed (stains, missing material, active leak) and get a crew out to look, usually within a few days depending on storm demand.
- On-roof inspection — we document damage with photos, check the attic or ceiling from the interior side if there's an active leak, and identify the actual source, not just the visible symptom.
- Written scope and estimate — you get a plain-English explanation of what's damaged, what needs to be repaired, and an honest price range before any work starts.
- Repair work — matched materials, corrosion-resistant fasteners, and flashing detail brought up to current standards where the existing detail was the point of failure.
- Final walkthrough — we show you what was done and why, and flag anything else on the roof worth watching, even if it doesn't need repair yet.
Repair or Replace: How We Help You Decide
Not every storm-damaged roof needs a full replacement, and not every roof is a good candidate for another round of patching. The right call depends on the roof's age, how widespread the damage is, and how many prior repairs it's already had.
| Factor | Leans Toward Repair | Leans Toward Replacement |
|---|---|---|
| Roof age | Under 12–15 years | Approaching or past expected service life for the material |
| Extent of damage | Isolated to one section or detail | Widespread across multiple slopes |
| Prior repair history | First or second repair | Multiple past patches in different areas |
| Underlying deck condition | Solid, no rot found | Soft spots or rot found during inspection |
| Insurance scope | Damage limited to a specific storm event | Adjuster scope already trending toward full replacement |
We'll tell you honestly which side of that table your roof falls on. There's no benefit to us in talking a homeowner into a full replacement they don't need, and no benefit in patching a roof that's going to keep costing money in repeat visits.
What Repairs Typically Involve
- Removing and replacing damaged shingles, tiles, or metal panels in the affected area
- Repairing or replacing underlayment beneath the damaged section
- Re-flashing valleys, penetrations, or roof-to-wall transitions found to be the source of intrusion
- Resealing pipe boots and other roof penetrations, which are common failure points in wind-driven rain
- Checking and re-securing ridge caps and hip caps loosened by wind
- Documenting pre- and post-repair condition for insurance purposes when applicable
Wind Rating and Code Considerations for Barrier Island Homes
Pinellas County's building code accounts for the higher wind exposure of coastal and barrier island properties, and Treasure Island sits squarely in that higher-exposure category. Any repair we perform uses materials and fastening schedules appropriate to that wind zone, not the lighter-duty standard that might be acceptable further inland. This matters for two practical reasons: it keeps the repair from becoming a recurring problem in the next round of storms, and it keeps your homeowner's insurance and any wind mitigation credits intact, since insurers and inspectors look at whether repairs meet current wind-resistance standards.
Why a Crew That Already Works Treasure Island Matters
Barrier island jobs come with logistics that don't exist on a mainland Largo repair. Bridge access, narrower streets, limited parking, and in some cases HOA or condo association rules about contractor access and work hours all factor into scheduling a repair smoothly. A crew that already works the island knows this going in instead of figuring it out on arrival.
There's also a material-behavior advantage to local familiarity. A roofer who works Treasure Island regularly has seen how specific products, fasteners, and sealants actually hold up against direct Gulf exposure over several years, not just how they're rated on a spec sheet. That's the kind of judgment that comes from doing the work here repeatedly, not from a single visit.
Insurance Documentation Basics
If your storm damage is being handled through a homeowner's insurance claim, documentation matters as much as the repair itself. We photograph the damage before starting work, note the likely cause (wind, wind-driven water, impact), and can walk the roof with an adjuster if that's helpful to your claim. We don't handle the claim itself — that's between you and your insurer — but we make sure the physical evidence and our written scope support an accurate assessment.
After a Storm: What to Check Before You Call
- Look for water stains on ceilings or walls, especially near chimneys, skylights, or where roof planes meet
- From the ground, check for obviously missing or displaced shingles, tiles, or ridge caps — don't get on the roof yourself
- Check gutters and downspouts for granules, tile fragments, or debris buildup
- Note the date and general conditions of the storm for your own records and any insurance claim
- Avoid covering or "fixing" damage yourself with tarps or sealant before a professional inspection, unless it's needed to stop active interior water damage
- Call for an inspection promptly — small wind and water damage gets worse with every additional rain event
If you're dealing with storm damage on a Treasure Island roof, or you just want a second opinion on something you noticed after the last round of weather, we're glad to take a look. Request a free, no-pressure estimate using the form below and we'll get a local crew out to give you an honest read on what's going on.