 Largo Window
 Why Storm Damage Roof Repair Looks Different in Belleair Bluffs
Belleair Bluffs is a small residential community tucked between Largo and Belleair, close enough to Clearwater Harbor and the Intracoastal Waterway that its roofs deal with a combination of stresses most inland Florida homes don't see all at once. Hurricane-force wind events test the roof's structure and fastening directly. Between storms, near-constant UV exposure breaks down shingle mat and sealant strips faster than in milder climates. And salt-laden air moving in off the water accelerates corrosion on every piece of exposed metal up there — flashing, fasteners, vent stacks, drip edge. None of that damage happens in isolation. Wind loosens what UV has already made brittle, and rain finds its way in through gaps that salt-corroded metal helped create.
That combination is why storm damage repair here needs to be approached as more than patching whatever blew off during the last named storm. A roof that's absorbed several storm seasons in this environment often has cumulative wear that a quick visual check from the ground won't reveal. This page covers what actually goes wrong with roofs in Belleair Bluffs after storms, what a correct repair involves, and why a crew that already works this specific area — not just the broader Tampa Bay region — tends to catch things a first-time visitor misses.
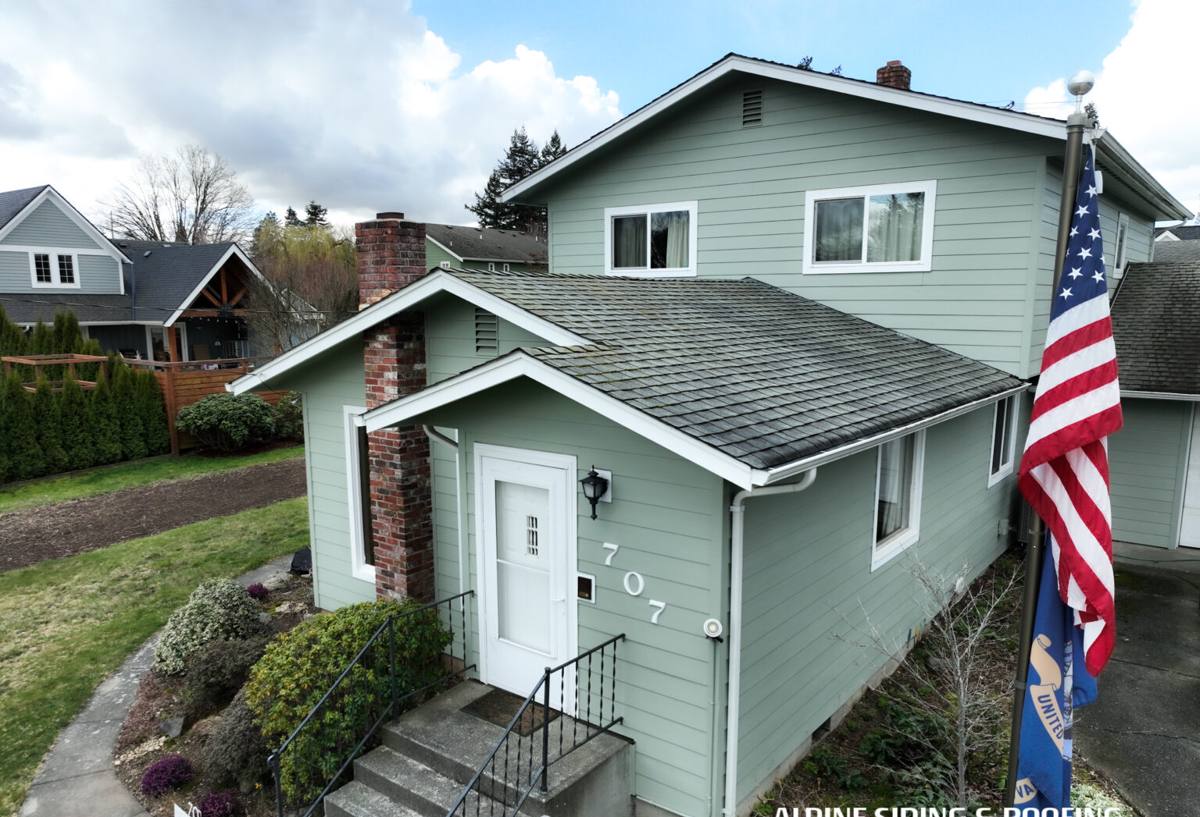
What Actually Damages Roofs Out Here
Wind Uplift and Fastener Failure
Sustained wind and gusts during a tropical storm or hurricane put uplift pressure on shingles, tile, and the fasteners holding them down, especially at roof edges, ridges, and corners where wind pressure concentrates. Shingles can lift, crease, or tear away entirely, and even ones that stay in place may have broken their sealant bond and popped fasteners that are no longer doing their job. A roof can look mostly intact after a storm and still have dozens of compromised fastening points that won't show up until the next hard rain or the next storm after that.
Wind-Driven Rain Intrusion
Ordinary rain runs off a roof the way it's designed to. Wind-driven rain during a storm gets pushed sideways and upward, forcing water under shingle edges, through nail holes, and around flashing that would otherwise shed water fine under normal conditions. This is one of the most common ways storm damage becomes interior damage — water tracking along the underlayment or decking and showing up as a stain on a ceiling well away from where it actually entered the roof.
Salt Air and Corroding Metal
Being close to the harbor and the Intracoastal means salt-laden air settles on the roof continuously, not just during storms. It works on exposed metal — flashing around chimneys and skylights, vent boots, drip edge, nail heads — faster than it would a few miles further inland. Corroded flashing is a frequent, easy-to-miss cause of leaks that get blamed on the shingles when the real failure point is the metal underneath or around them.
UV Degradation Compounding Storm Wear
Florida gets some of the highest year-round UV exposure in the country, and a roof takes that sun directly, all day, with no relief. UV breaks down asphalt shingle oils and sealant strips over time, making shingles more brittle and less able to flex under wind load. A roof that's already UV-aged going into a storm sustains more damage from the same wind speed than a newer roof would, which is part of why age and prior sun exposure matter as much as the storm itself when assessing what happened.
Hidden Damage vs. Visible Damage — And How We Find It
Telling Them Apart
The damage that's obvious from the ground or a quick walk of the yard is rarely the whole picture.
| What You Notice | Usually Visible/Obvious | Often Hidden |
|---|---|---|
| Missing shingles or tiles | Yes — easy to spot | Adjacent loosened ones may not be |
| Granules in gutters or downspouts | Sometimes noticed | Indicates accelerated shingle wear, extent unclear without inspection |
| Ceiling stain or damp spot | Yes, once it appears | Entry point is often feet away from the stain itself |
| Lifted or creased shingles | Only visible up close or from the roof | Broken seal is invisible from the ground |
| Corroded flashing or vent boots | Rarely visible from ground level | Common, gradual, often the real leak source |
| Soft or spongy decking underneath | No — not visible until repair begins | Yes — usually the most serious finding |
Our Inspection Process
A useful storm damage estimate starts with an actual inspection of the roof itself, not just the yard debris. That typically includes:
- Walking the full roof surface to check every shingle or tile field, not just the areas visible from the ground
- Inspecting flashing around chimneys, skylights, and roof-wall intersections for corrosion, lifting, or gaps
- Checking vent boots and pipe collars, which corrode and crack well before most homeowners think to look at them
- Probing decking in any area with a known or suspected leak to check for soft spots or rot
- Documenting findings with photos, both for your records and for any insurance claim you may file
We'll also give you a straight read on whether what we found is storm-caused, age-related, or a combination of both, since that distinction matters for how a repair is scoped and how an insurance claim is likely to be handled.
What a Correct Repair Actually Involves
Matching Materials, Not Just Covering the Gap
A repair that uses mismatched shingles or the wrong flashing profile might stop a leak temporarily, but it rarely holds up as well as one that matches the existing roofing system's product line, color, and installation method. Where an exact match isn't available — which happens with older or discontinued shingle lines — we'll tell you that upfront and explain the closest reasonable option rather than let you discover it after the work is done.
Flashing and Underlayment Get Replaced, Not Reused
Corroded or storm-damaged flashing should be replaced, not resealed over. The same goes for underlayment in any area that's been exposed to wind-driven rain — a repair that leaves compromised underlayment in place under new shingles is a leak waiting for the next storm, not a fix.
Fastening to Actual Wind Requirements
Florida Building Code sets minimum wind-resistance and fastening standards for roofing work, and Pinellas County permitting applies to most repair scopes beyond minor, isolated fixes. A repair done to code, with the correct fastener pattern and nailing schedule for the shingle or tile product involved, holds up meaningfully better in the next wind event than one done to "get it closed up" without regard to those standards.
Repair or Replacement — What Actually Determines Which You Need
| Factor | Leans Toward Repair | Leans Toward Replacement |
|---|---|---|
| Extent of damage | Isolated to one section or slope | Spread across multiple areas of the roof |
| Roof age | Newer roof, otherwise sound | Already near or past its expected service life |
| Decking condition | Solid, no rot found | Soft spots or rot found during inspection |
| Material availability | Close match available for existing product | Discontinued line, poor match, or repeated past repairs |
| Storm history | First significant damage on this roof | Repeated storm damage over recent seasons |
We'll walk you through where your roof falls on each of these before recommending one path over the other. A repair that's genuinely the right call is often the more affordable and less disruptive option — we're not going to push a full replacement when a properly done repair will hold.
Working With Insurance on a Storm Claim
Many storm damage repairs in this area go through a homeowner's insurance claim, and a clear, well-documented inspection makes that process go more smoothly. We provide photo documentation and a written scope of what we found and what repair it calls for, which you can submit with your claim. We're glad to walk an adjuster through the roof if that's useful, but the final claim decision and coverage details are between you and your insurance company — we won't promise a specific claim outcome, and you should be cautious of any contractor who does.
A Homeowner's Post-Storm Roof Checklist
- Check the yard and gutters for granules, shingle pieces, or flashing debris after any significant wind event
- Look inside at ceilings and upper-floor walls for new stains, even faint ones, in the days after a storm
- Avoid getting on the roof yourself — storm-loosened shingles and wet surfaces are a real fall hazard
- Take dated photos of any visible exterior damage before debris is cleared or repairs begin
- Get a professional inspection after any storm that produced sustained high winds, even if nothing looks obviously wrong
- Don't delay a repair once damage is confirmed — a small entry point gets larger with the next rain, not smaller
Why It Matters That We Already Work Belleair Bluffs
A roofing crew that mostly works further inland can still do competent repair work here, but Belleair Bluffs roofs carry variables that come up more consistently in this specific area than elsewhere in Pinellas County — corrosion patterns tied to proximity to the harbor and Intracoastal, wind exposure that can vary block to block depending on tree cover and elevation, and permitting handled through the applicable local jurisdiction depending on the property. Working this community regularly means we're not learning those patterns on your roof. We know what a storm-damaged flashing joint looks like out here before it fails outright, and we can give you a more accurate first estimate because the inspection accounts for how this specific environment behaves, not a generic checklist built for a roof twenty miles inland.
If you've had a storm come through and you're not sure whether what happened is cosmetic or something that needs real attention, we're glad to come take an honest look and tell you plainly what we find — including if the answer is that your roof came through fine. Reach out below for a free, no-pressure estimate.